SALESFORCE CLI:
- The Salesforce CLI is a powerful Command Line Interface that is a free, open-source tool from salesforce, intended to help simplify and potentially automate the tasks across the platform. Ultimately it speeds up the Development process for both admins and developers.
- The main advantage of Salesforce CLI is to transfer metadata between orgs. We can do that by using the CLI Commands.
2.1 First we need to install Salesforce CLI in our system. We can download
Salesforce CLI by going to the website.
2.2 We can check whether Salesforce CLI installed properly by checking in
command prompt “sf version” as shown below

MOVING METADATA BETWEEN ORGS:
- To Authorize an Org and to set its name as alias, give the following command in
the command prompt,
** sfdx force:auth:web:login -r https://test.salesforce.com -a AKHIL_ORG**
-a, --alias=
-r, --instance-url=
After executing the command, the command prompt opens a default browser for
the login details of the org, after entering details, you will see a Authentication
successful message on the screen.


- To create a manifest project in the local directory of windows, use the following
Command
sfdx force:project:create --name ProjectWithManifest --manifest
-n, --name=
-x, --manifest : Generate a manifest (package.xml) for change-set based
development.


- In order to retrieve the metadata from the source Org, we need to first
3.1 Move to the manifest project folder using the following command in the
command prompt.
cd ProjectWithManifest

3.2 Go to the ProjectWithManifest folder in the Windows Explorer and locate
the package.xml file and open it with notepad++.

Now edit the package.xml file with all the components you want to retrieve from the Source Org. For example, we retrieve the class SubtractNumbers
From the Source Org.

- Now we need to retrieve the metadata from the Source Org to our local directory
ProjectWithManifest and into the folder Force-app, using the following
command
sf project retrieve start -o AKHIL_ORG --manifest manifest\package.xml
-o, --target-org=
-x, --manifest=
specifies the components to retrieve.

Now all the metadata(SubtractNumbers.cls) retrieved to the Force-app
Folder.

- Now we need to deploy the metadata(SubtractNumbers) to the Target org. To do that first we authorize the target Org.
sfdx force:auth:web:login -r https://test.salesforce.com -a ANILA_ORG
Now to move the metadata to the TARGET_ORG , use the following command.
sfdx force:source:deploy -x manifest/package.xml -u ANILA_ORG
-x, --manifest=
that specifies the components to deploy.
-u, --target-org=

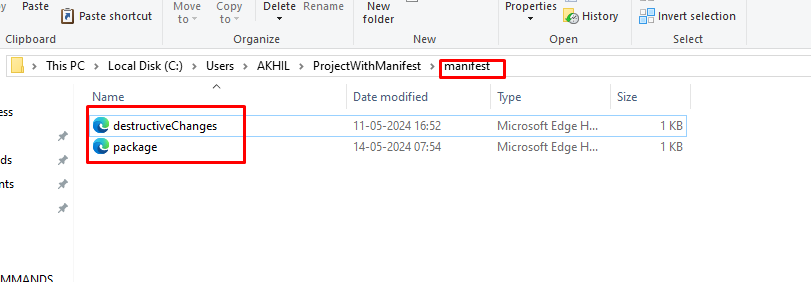
- In order to delete the metadata from the Target org, that we just pushed from the
local directory, We need to create a destructiveChanges.xml file in the
manifest folder along with package.xml. Add the components that needs to be
deleted from the target org in the destructiveChanges.xml file and keep
package.xml file empty.


Now execute the following command in the command prompt to delete the
changes from the target org.
** sfdx force:mdapi:deploy -d manifest -u ANILA_ORG -w 1**
-w, --wait=
-d, --deploydir=
I want to deploy.
- In order to execute the list of commands(automate) at a time, we put those
commands in the .bat file and run the file in the command prompt.
7.1 Open a notepad and paste the commands you want to be executed and add
Call before every command.Then save the file in the ProjectWithManifest directory and run the commands.bat file in the command prompt typing
C:\Users\AKHIL\ProjectWithManifest>commands.bat

- To logout of the Org use the following command.
** sf org logout --target-org AKHIL_ORG**
- We can update the salesforce CLI Version using the following command.
** Sf update**
- We can check the version of salesforce CLI using the following command.
Sf version
- We can check the list of authorized orgs using the following command.
Sf auth:list

12.We can move the local folder to the GITHUB Repository using the following
GIT Commands.
12.1 git init
Used to create a new blank Repository.
12.2 git add .
This command adds new or changed files in your working directory to the
GIT staging area.
12.3 git commit -m "First Commit"
It is used to create a snapshot of the staged changes along a timeline of a
GIT project history.
12.4 git branch -M
Used to create a new Branch.
12.5 git remote add origin
Set the repository to which you want to send the local folder.
12.6 git push -u origin
The Branch will be added to the remote Git Repository.
MOVING METADATA FROM ORG TO GITHUB:
We can do this in 2 steps.
1. Moving metadata from Org to the local windows explorer folder.
Refer steps 3,4,5 (Moving Metadata between Orgs) for how to retrieve the
metadata from Org to the local folder.
2. Moving metadata from local windows explorer folder to GIT.
2.1 Go to Command prompt and start giving the following GIT Commands.


Sometimes when you give the push command, a GITHUB login page appears on the screen, then we should enter the login details for the command to continue.
After pushing the SubtractNumbers branch, you can see it in the GITHUB.

The bat file to push metadata from ORG TO GITHUB is below

MOVING METADATA FROM GITHUB TO ORG:
We can achieve the above requirement in 2 steps:
- Moving the metadata from GITHUB to the local windows explorer folder.
We can clone the branch from GITHUB into our local folder using the
following Command.
git clone -b MY-Triggers https://github.com/akhilamitineni/My-files
-b – branch to be cloned to Local directory.
In the above example, MY-Triggers branch from GITHUB My-files Repository
is cloned into the local folder.


- Moving metadata from local windows explorer folder(My-files) to the ORG.
2.1 We first move into the My-files folder in the command prompt.
** cd My-files**

2.2 Now we can deploy the metadata in the My-files folder to ORG using the following command.
sfdx force:source:deploy -x manifest/package.xml -u ANILA_ORG

The bat file to move metadata from GITHUB to ORG is below

Leave a Comment